
After developing a OSGi application in Eclipse we probably want to run it outside. This can be done by creating a special kind of zip file called a JAR file (Java archive), that contains all the classes necessary to run the application.
The example uses a project that contains an OSGi application called osgi_example1.
Select osgi_example1 in the "Package Explorer". From the "File" menu select "Export..." to get the following dialog box in which we have selected "JAR file". The next step is to select jar file from the list of export destinations.
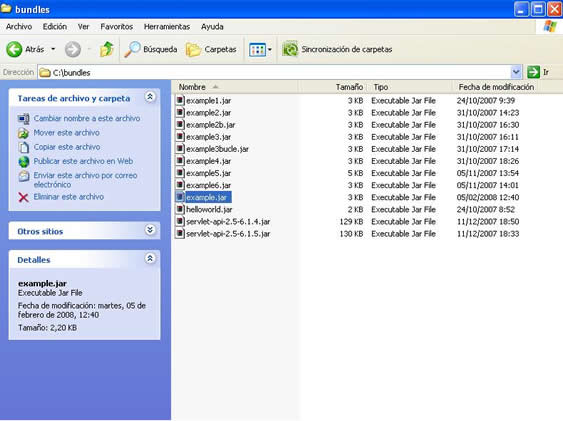
Now select what we want to export as a jar and where we want to place the jar. Select the resources to export. In the example, we select the project osgi_example1 and the export destination: C:\bundles\example.jar.

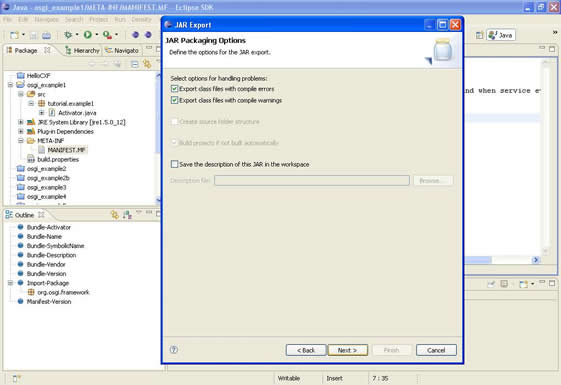
This page allows you to deal with warnings and errors when the jar is build. Click Next.
This sections is used for manifest options and sealing the jar. We select the manifest file that the project contains. This Manifest file describes the OSGi service and it's used to execute the bundle.
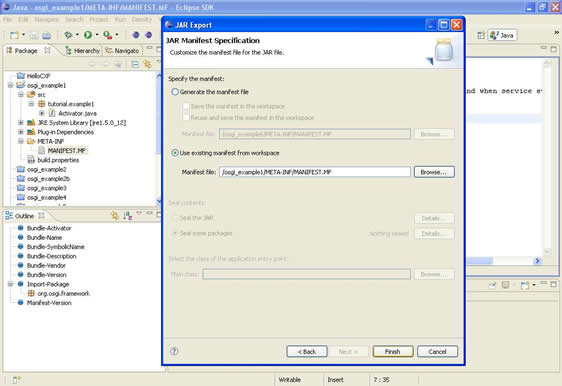
Click Finish. In the export destination (c:\bundles\) appears the new jar file: example.jar
Having created the JAR File that contains a bundle we can execute it. For example in Oscar.